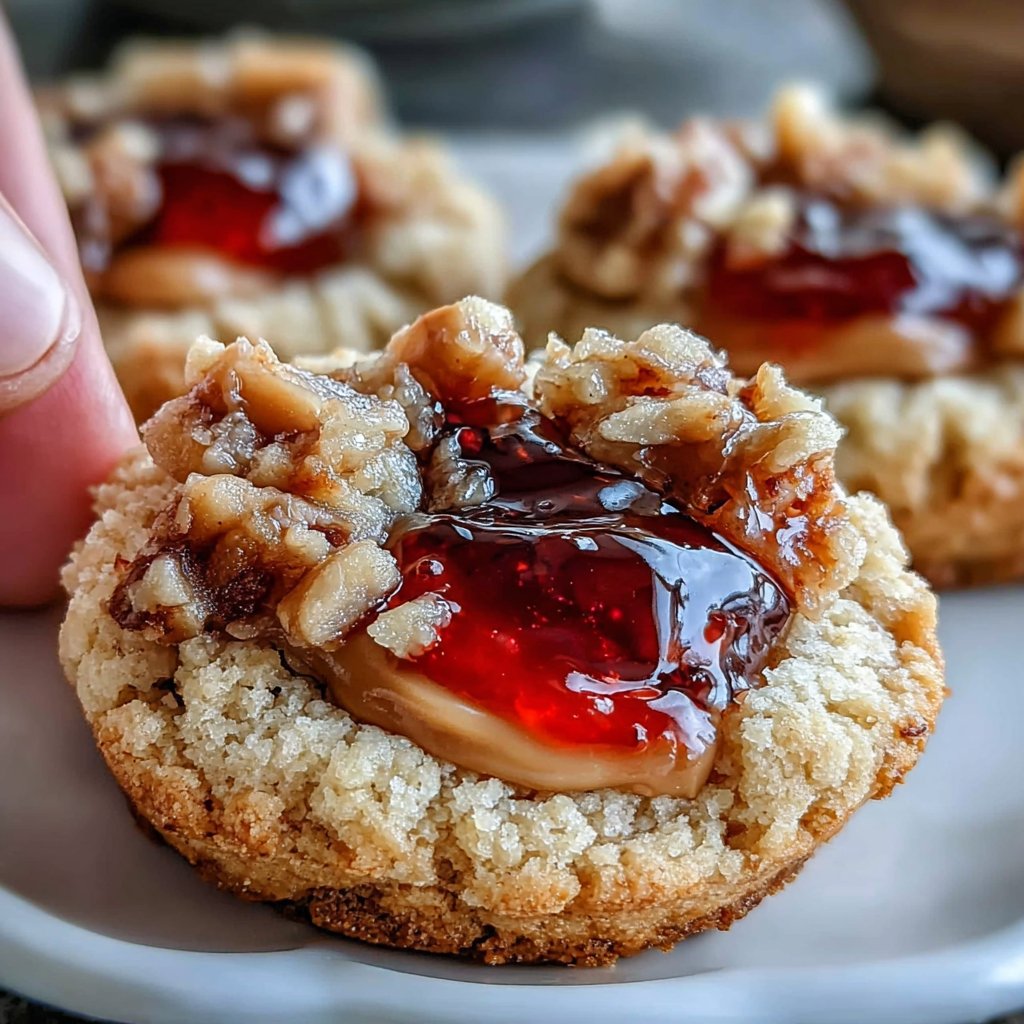
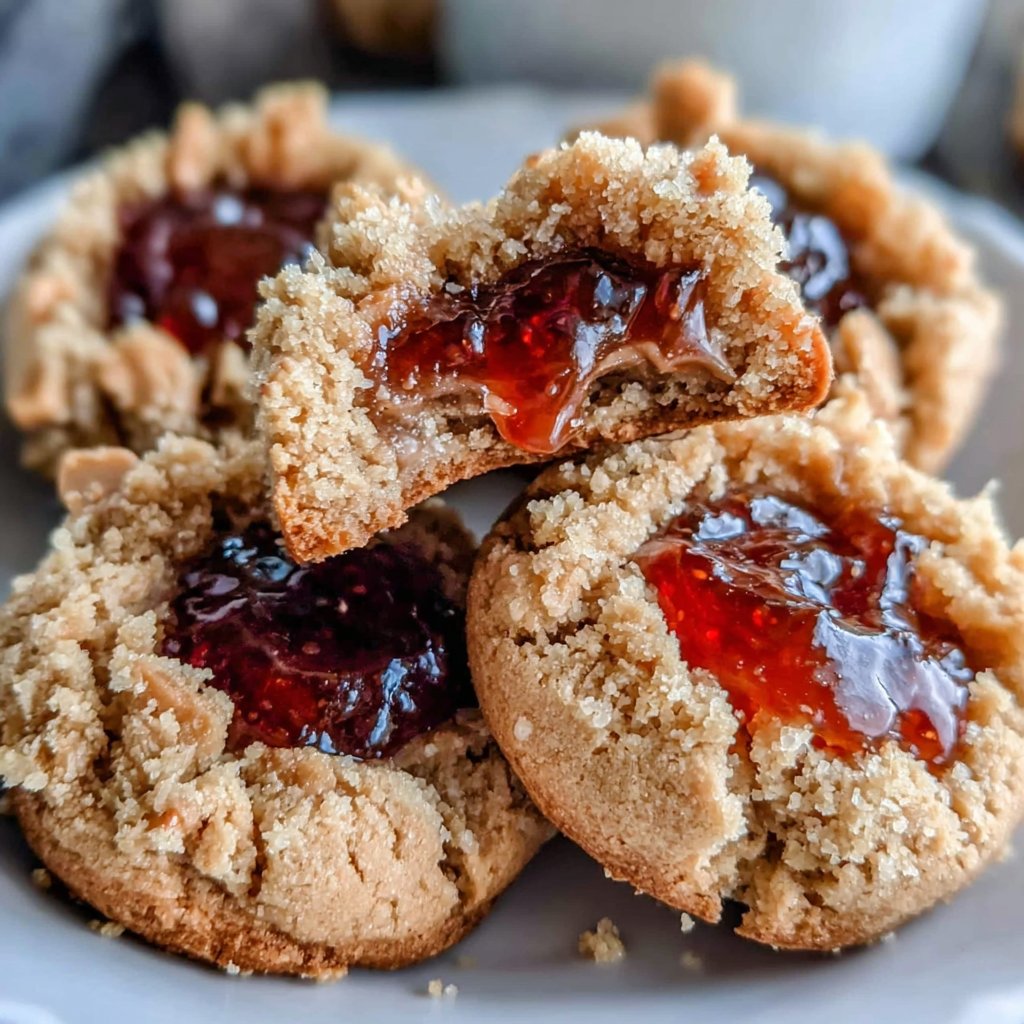
Peanut Butter & Jelly Thumbprints
Highlighted under: Cool Sweets Recipes
I absolutely love making Peanut Butter & Jelly Thumbprints because they bring back so many cherished childhood memories. The combination of creamy peanut butter and sweet jelly creates a delightful treat that's perfect for any occasion. I find that the key to achieving that perfect thumbprint is to bake the cookies just right; too long, and they become hard, too short, and they won’t hold their shape. These cookies are not just delicious—they’re also incredibly fun to make with kids!
When I first made these cookies, I experimented with various types of jelly, and found that raspberry jelly pairs exceptionally well with the peanut butter. It adds a beautiful tangy flavor that balances out the sweetness perfectly. The moment you take a bite, the creamy peanut butter combined with the fruity jelly creates a taste explosion in your mouth!
I also discovered that letting the dough chill for about 30 minutes before baking makes a significant difference. It helps the cookies hold their thumbprint shape without spreading too much in the oven.
You Will Love These Cookies Because:
- The nostalgic combination of peanut butter and jelly is timeless
- Delightful texture with a soft center and a little burst of jelly
- Perfect for sharing at gatherings or enjoying with a glass of milk
Perfecting the Thumbprint Technique
To achieve the iconic thumbprint, it’s crucial to ensure that the cookie dough is just the right consistency. Too sticky, and the cookies won’t hold their shape; too dry, and they may crack when you create the well. After mixing your ingredients, let the dough rest for about 10 minutes. This allows the gluten to relax and the flavors to meld, making it easier to shape and create those delightful wells.
When making the thumbprint, use a gentle pressure with your thumb to create a definitive indentation without pushing through the cookie base. Aim for about 1/4 inch deep, as this allows ample space for the jelly to sit while ensuring the cookie maintains its structure during baking.
Choosing the Right Jelly
The choice of jelly can greatly influence the final flavor of your cookies. While raspberry is a classic pairing, don’t hesitate to experiment with other varieties like strawberry, grape, or even a citrus-based jelly. Each option will impart a unique sweetness and acidity. Just keep in mind that the viscosity of the jelly should be thick enough to hold its shape in the thumbprint; avoid overly runny varieties.
For a fun twist, try blending two different types of jelly together, or even making a homemade jam. If you prefer less sweetness, opt for a natural fruit spread that uses less sugar. This will provide a lovely tart contrast to the rich peanut butter.
Storing and Freezing Your Cookies
These peanut butter and jelly thumbprints are best enjoyed fresh, but you can certainly store them for later enjoyment. Keep them in an airtight container at room temperature for up to 5 days. If you live in a more humid environment, consider refrigerating them to prolong freshness and prevent any sticky texture from developing around the jelly.
To freeze, allow the cookies to cool completely after baking. Then, place them in a single layer on a baking sheet and freeze until solid. Once frozen, transfer them to a resealable freezer bag, separating layers with parchment paper. They can be stored in the freezer for up to three months. When you're ready to enjoy, let them thaw at room temperature, and they’ll taste as delightful as the day they were baked.
Ingredients
Gather the following ingredients for a delicious batch of Peanut Butter & Jelly Thumbprints:
Ingredients
- 1 cup creamy peanut butter
- 1/2 cup granulated sugar
- 1/2 cup brown sugar, packed
- 1 large egg
- 1 teaspoon vanilla extract
- 1/2 teaspoon baking soda
- 1/4 teaspoon salt
- 1/2 cup jelly (raspberry or your choice)
Once you have all the ingredients, you're ready to start baking!
Instructions
Follow these simple steps to create your Peanut Butter & Jelly Thumbprints:
Preheat the Oven
Preheat your oven to 350°F (175°C) and line a baking sheet with parchment paper.
Mix the Ingredients
In a bowl, combine the peanut butter, granulated sugar, brown sugar, egg, vanilla extract, baking soda, and salt. Mix until smooth and well combined.
Shape the Cookies
Scoop tablespoon-sized amounts of dough and roll them into balls. Place them on the prepared baking sheet and flatten each ball slightly. Use your thumb to make a well in the center of each cookie.
Fill with Jelly
Spoon about half a teaspoon of jelly into each thumbprint well.
Bake
Bake in the preheated oven for 8-10 minutes, or until the edges are lightly browned. Remove from the oven and allow to cool on the baking sheet for a few minutes before transferring to a wire rack.
Let your cookies cool completely before serving. Enjoy!
Pro Tips
- If you want to add a twist, try using different nut butters or flavored jellies to suit your taste!
Scaling the Recipe
If you'd like to make a larger batch of these cookies, simply double or triple the ingredients. The proportions will stay the same; however, you may need to slightly adjust the baking time, especially if you're using multiple baking sheets at once. Keep an eye on the cookies, and check for that light golden edge to avoid overbaking.
For a smaller batch, you can reduce the ingredients as needed. To make just a dozen cookies, halve the recipe, and you'll still have plenty of delicious treats to share or enjoy on your own!
Combining with Other Flavors
To elevate your Peanut Butter & Jelly Thumbprints, consider adding mix-ins to the cookie dough, such as chopped peanuts for extra crunch or chocolate chips for a rich twist. These combinations create a new layer of texture and flavor that complements the traditional recipe beautifully.
Another idea is to spice up your cookie base by adding a pinch of cinnamon or a dash of cocoa powder for a hint of warmth or chocolatey richness. This can turn the classic into a dessert with a delightful, new personality.
Questions About Recipes
→ Can I use crunchy peanut butter instead?
Yes, crunchy peanut butter will give your cookies a delightful texture!
→ How do I store the leftovers?
Store the cookies in an airtight container at room temperature for up to a week, or in the refrigerator for longer freshness.
→ Can I freeze these cookies?
Absolutely! Freeze them in a single layer on a baking sheet, then transfer them to a freezer-safe container for up to 3 months.
→ What other jams can I use?
Feel free to experiment with various jams or preserves like strawberry, grape, or even apricot!
Peanut Butter & Jelly Thumbprints
Created by: The Laurascookbook Team
Recipe Type: Cool Sweets Recipes
Skill Level: Easy
Final Quantity: 24 cookies
What You'll Need
Ingredients
- 1 cup creamy peanut butter
- 1/2 cup granulated sugar
- 1/2 cup brown sugar, packed
- 1 large egg
- 1 teaspoon vanilla extract
- 1/2 teaspoon baking soda
- 1/4 teaspoon salt
- 1/2 cup jelly (raspberry or your choice)
How-To Steps
Preheat your oven to 350°F (175°C) and line a baking sheet with parchment paper.
In a bowl, combine the peanut butter, granulated sugar, brown sugar, egg, vanilla extract, baking soda, and salt. Mix until smooth and well combined.
Scoop tablespoon-sized amounts of dough and roll them into balls. Place them on the prepared baking sheet and flatten each ball slightly. Use your thumb to make a well in the center of each cookie.
Spoon about half a teaspoon of jelly into each thumbprint well.
Bake in the preheated oven for 8-10 minutes, or until the edges are lightly browned. Remove from the oven and allow to cool on the baking sheet for a few minutes before transferring to a wire rack.
Extra Tips
- If you want to add a twist, try using different nut butters or flavored jellies to suit your taste!
Nutritional Breakdown (Per Serving)
- Calories: 120 kcal
- Total Fat: 8g
- Saturated Fat: 2g
- Cholesterol: 10mg
- Sodium: 90mg
- Total Carbohydrates: 11g
- Dietary Fiber: 1g
- Sugars: 6g
- Protein: 3g